How to Fix a Broken Perfume Sprayer: Your Ultimate DIY Guide to Scent Salvation
No beauty emergency quite sparks panic like a broken perfume sprayer. You reach for your signature scent, ready to spritz on that final touch of confidence, only to be met with a sad dribble, a stubborn refusal, or a stream aimed everywhere but your pulse points. Ugh. It’s enough to make a fragrance lover feel completely defeated!
But before you toss that precious bottle in despair (and trust me, I’ve been there, staring sadly at a half-full bottle of my favorite eau de parfum), take a deep breath.
In this post, we’re diving deep into the surprisingly common world of faulty fragrance sprayers. We’ll explore why they stop working and, more importantly, how to get your beloved scent back in action. Get ready to save your perfume collection and reclaim your perfectly perfumed life!
The Case of the Clogged Nozzle: Why Your Sprayer Is Acting Up
First things first, let’s play detective. Why is your sprayer not working right? Understanding the reason is half the battle.
- The Pesky Clog: This is by far the most common issue. Over time, tiny bits of dried perfume, dust, or even residue from other beauty products can build up in the nozzle, blocking it. Think of it like a tiny traffic jam in your sprayer’s most important pathway.
- A Bent Straw (Dip Tube): Inside your perfume bottle, there’s a thin plastic tube called a dip tube. If this tube gets bent, creased, or comes loose from the sprayer part, it can’t pull the liquid up well. It’s like trying to drink a milkshake with a straw that’s twisted – frustrating and useless.
- Factory Flaw: While less common, sometimes you simply get a faulty product. A problem from manufacturing can mean a sprayer never worked right from the start or stops working too soon. It’s the kind of lottery you don’t want to win.
- The “Oops” Factor (Accidental Damage): Dropped your bottle? Sat on it? (No judgment, it happens!) A bump or fall can harm the small inside parts of the sprayer, causing it to break.
Your DIY Perfume Sprayer Repair Kit: What You’ll Need
Before we start our repair mission, gather your tools. Don’t worry, you won’t need anything special or costly. Most of these are likely already in your home:
- Warm Water: Not hot, just comfortable.
- Small Bowl or Cup: For soaking.
- Cotton Swabs or Soft Cloth: For gentle cleaning.
- Rubbing Alcohol (Optional but Helpful): For a deeper clean if needed.
- A Needle or Pin: For clearing tiny blockages.
- Pliers (Small, pointy ones – Optional): Only for very tough cases where the collar needs a light push.
- Patience and a Steady Hand: Your most valuable things!
Operation Sprayer Rescue: Step-by-Step Fixes!
Now, let’s get down to business. We’ll start with the easiest fixes and work our way up.
Fix #1: The Warm Water Soak (Your First Step to a Solution)
This is the usual solution for most clogged sprayers. It’s gentle, works well, and often all you need.
- Remove the Sprayer Cap: Take off the decorative top.
- Take Off the Sprayer Head: Gently pull the sprayer head (the part you press down) straight up and off the bottle. It usually comes off with a firm but careful pull.
- Soak it Up: Place only the detached sprayer head into a small bowl of warm (not boiling!) water. Let it soak for about 15-30 minutes. The warmth helps to loosen any dried perfume or bits inside the nozzle.
- Pump it Out: After soaking, put the sprayer head back on the bottle. Now, pump the sprayer a few times over a sink or a trash can. This helps to push out any loosened blockages.
- Test it Out: Give your perfume a test spray! Is it misting beautifully again? If so, success!
Fix #2: The Alcohol Rinse (When Warm Water Isn’t Enough)
If warm water didn’t quite work, it’s time to bring in the rubbing alcohol. Alcohol is great at dissolving oils and residues.
- Repeat Steps 1 & 2 from Fix #1 (take off the sprayer head).
- Alcohol Bath: Instead of water, soak the sprayer head in a small amount of rubbing alcohol for 15-30 minutes.
- Rinse Very Well: Important, after the alcohol soak, rinse the sprayer head very well under warm running water for a minute or two. You don’t want any alcohol left mixing with your precious perfume.
- Flush and Test: Put it back on, pump to flush, and test your sprayer.
Fix #3: The Pinpoint Clear (For Stubborn Nozzle Clogs)
Sometimes, a tiny piece of debris is just too stuck for soaking alone. This is where your needle or pin comes in handy.
- Look at the Nozzle: Hold the detached sprayer head up to a light and carefully look at the tiny hole in the center of the nozzle. Can you see anything blocking it?
- Gentle Poke: Take a very thin needle or pin and gently put it into the nozzle hole. Don’t push hard! Just a careful wiggle can dislodge the blockage. Be incredibly careful here; you don’t want to damage the sprayer.
- Soak and Flush: After trying to clear with the pin, continue with a warm water or alcohol soak (as described in Fix #1 or #2) and then flush by pumping.
Fix #4: Straightening the Dip Tube (A Tricky but Possible Fix)
If you think the dip tube is the problem (e.g., the sprayer pumps but no liquid comes out, or it’s very weak), you might need to try and straighten it. This is harder and needs a very gentle touch.
- Carefully Remove the Sprayer Part: This is the part that connects to the bottle, and the dip tube is attached to it. Some bottles have a screw-on part, making this easy. Others have a crimped metal ring.
- Screw-on: Simply unscrew it.
- Crimped Ring: This is where it gets tough. You’ll see a metal ring around the neck of the bottle holding the sprayer in place. Very carefully try to use small pliers to gently lift up the edges of the metal ring, working your way around until the sprayer part loosens. Be extremely careful here to avoid breaking the glass bottle! This is often a last chance effort.
- Check and Straighten: Once the part is off, gently look at the dip tube. Is it bent? Is it disconnected from the sprayer head? Carefully straighten it or put it back into its correct place within the sprayer part.
- Put it Back Together: If you removed a screw-on part, simply screw it back on tightly. If you pried open a crimped ring, try to gently push it back down with your pliers. Again, caution is key.
- Test: Hopefully, your perfume is now flowing freely!
When All Else Fails: The Decant Option
Sometimes, even after your best efforts, a sprayer is truly beyond repair. Don’t lose hope! You can still save your valuable perfume.
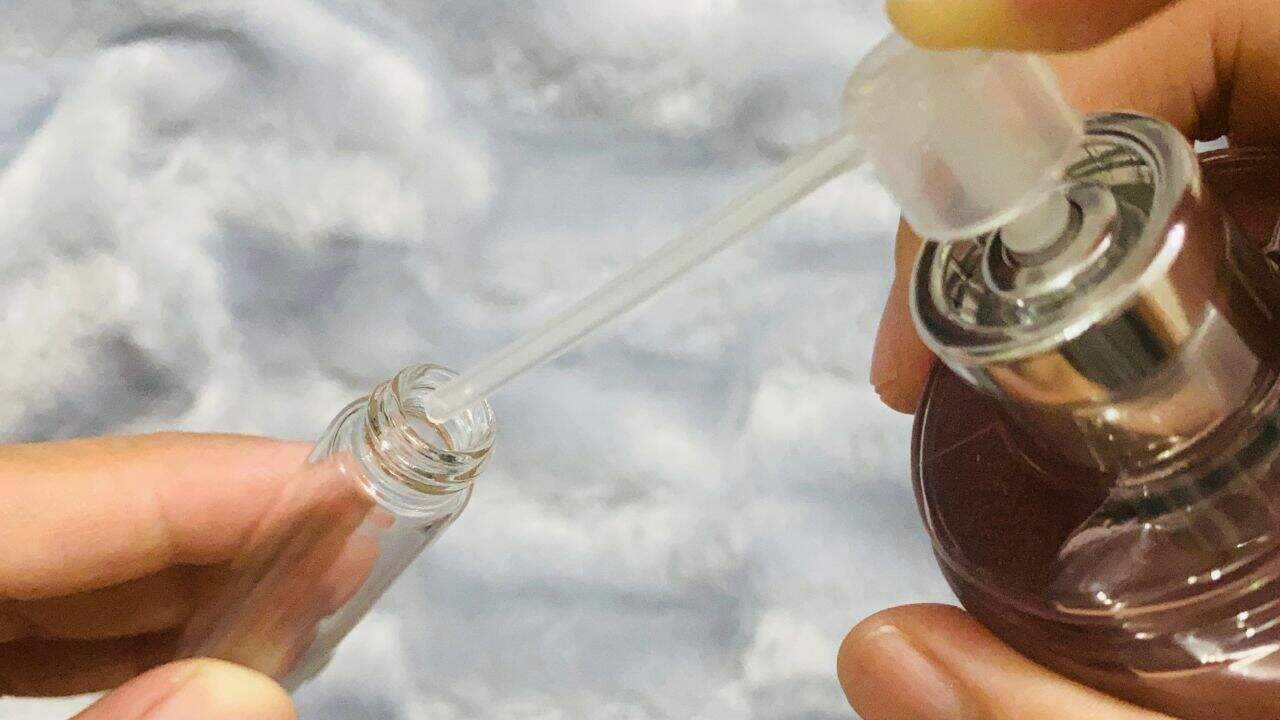
- Decanting: This means moving the perfume into a new, working sprayer bottle. You can buy empty perfume sprayers online or from beauty supply stores. This is a brilliant way to save the scent.
- Dabbing: If you can get the cap off, you can always dab the perfume onto your pulse points using a cotton swab or simply by carefully tipping the open bottle onto your finger. It’s not perfect for putting it all over, but it works when you need it!
Smart Tips for Preventing Sprayer Problems
A little prevention goes a long way, right? Keep your perfume sprayers happy with these simple habits:
- Store Correctly: Keep your perfumes away from direct sunlight, very hot or cold temperatures, and high moisture. These conditions can damage the fragrance and lead to gunk building up. A cool, dark drawer is a perfect spot.
- Clean Sometimes: If you notice a faint crust around the nozzle, give it a quick wipe with a damp cloth or a cotton swab dipped in rubbing alcohol.
- Put the Cap On: Always put the cap back on after each use. This helps protect the nozzle from dust and stops the perfume from evaporating.
- Gentle Handling: Perfume bottles are delicate! Handle them with care to avoid accidental drops or bumps.
Don’t Let a Broken Sprayer Ruin Your Day (or Your Scent!)
A sprayer that isn’t working can be incredibly annoying, especially when you’ve invested in a beautiful, favorite fragrance. But as you’ve seen, many common issues are surprisingly easy to fix with a little knowledge and a touch of patience.
So, the next time your perfume acts up, don’t give up! Arm yourself with these tips, and you’ll be back to spritzing your signature scent with confidence and style in no time. Your nose (and your wallet!) will thank you.
Have you ever successfully fixed a broken perfume sprayer? Share your own tips and tricks in the comments below! We’d love to hear your fragrance rescue stories!