
Want that coveted, lit-from-within glow that looks effortlessly radiant? Highlighter is your secret weapon for achieving luminous, dimensional skin that catches the light beautifully. Whether you’re a complete beginner just starting your makeup journey or a seasoned beauty enthusiast looking to perfect your technique, this comprehensive guide will teach you everything you need to know about applying highlighter like a true makeup artist.
What Is Highlighter Makeup?
Highlighter is a light-reflecting makeup product specifically designed to enhance your natural features by strategically catching and bouncing light off your skin. This clever beauty tool adds dimension and depth to your face, creating the illusion of healthy, lifted, and naturally luminous skin.
Unlike contouring products that create shadows to recede certain areas, highlighter does the opposite—it brings forward and emphasizes the features you want to showcase. Think of it as your skin’s best friend, creating those coveted high points on areas like your cheekbones, brow bones, and the bridge of your nose.
Strategic Highlighter Placement: Where to Apply for Maximum Impact
The secret to stunning highlighter application lies in strategic placement. Here are the key areas that will transform your complexion from flat to glowing in seconds:
- High Points of the Cheekbones: Apply along the tops of your cheekbones to lift and add structure to your face. This creates an instant sculpting effect that mimics natural light hitting these prominent areas.
- Brow Bones: A subtle sweep just beneath the eyebrow arch brightens the entire eye area and creates beautiful definition that makes your eyes appear more open and awake.
- Inner Eye Corners: This game-changing placement instantly makes your eyes look brighter, larger, and more alert—perfect for those early morning meetings or late-night events.
- Bridge of the Nose: Running highlighter down the center of your nose creates a beautifully sculpted look without the need for heavy contouring techniques.
- Cupid’s Bow: A small dab on the center of your upper lip creates the optical illusion of fuller, more defined lips.
- Chin Center: Adding a touch to the center of your chin balances out your overall glow and creates facial harmony.
- Collarbones and Shoulders: For special occasions or when wearing off-shoulder tops, extending highlighter to your collarbones and shoulders creates a gorgeous, cohesive radiant look.
Choosing Your Perfect Highlighter Shade
Selecting the right shade is crucial—the wrong tone can appear stark, ashy, or simply unflattering against your skin. Here’s how to find your perfect match:
- Fair Skin Tones: Embrace icy platinum, pearl, or silvery shades that complement your natural undertones without overwhelming your complexion.
- Light to Medium Skin: Champagne, soft peach, light gold, and warm honey tones will enhance your natural glow beautifully.
- Medium to Tan Skin: Rich golds, warm coppers, and bronze shades will create a stunning, sun-kissed radiance.
- Deep Skin Tones: Deep golds, rich coppers, and warm bronze shades with golden undertones will create the most flattering, luminous effect.
- Universal Options: Rose gold and sheer opalescent hues are incredibly versatile and work beautifully across multiple skin tones, making them perfect starter shades.
Types of Highlighter Formulas: Finding Your Perfect Match
Understanding different highlighter formulas helps you choose the best option for your skin type and desired finish:
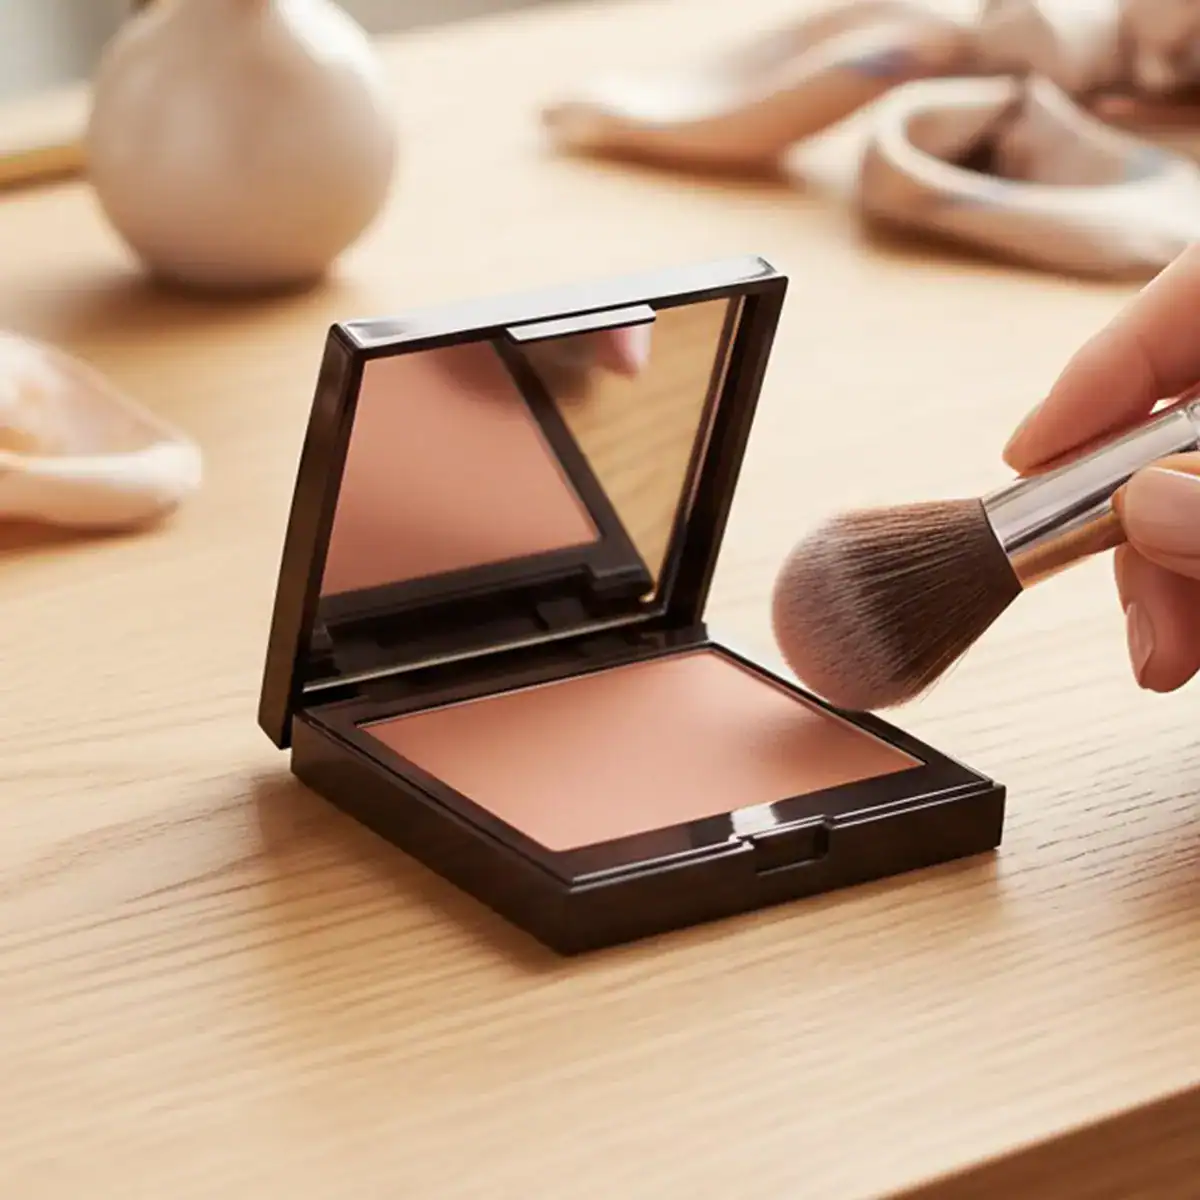
Powder Highlighter
The most beginner-friendly option, powder highlighters are perfect for oily or combination skin types. They’re easy to control, blend seamlessly with brushes, and offer buildable coverage that lets you customize your glow intensity.
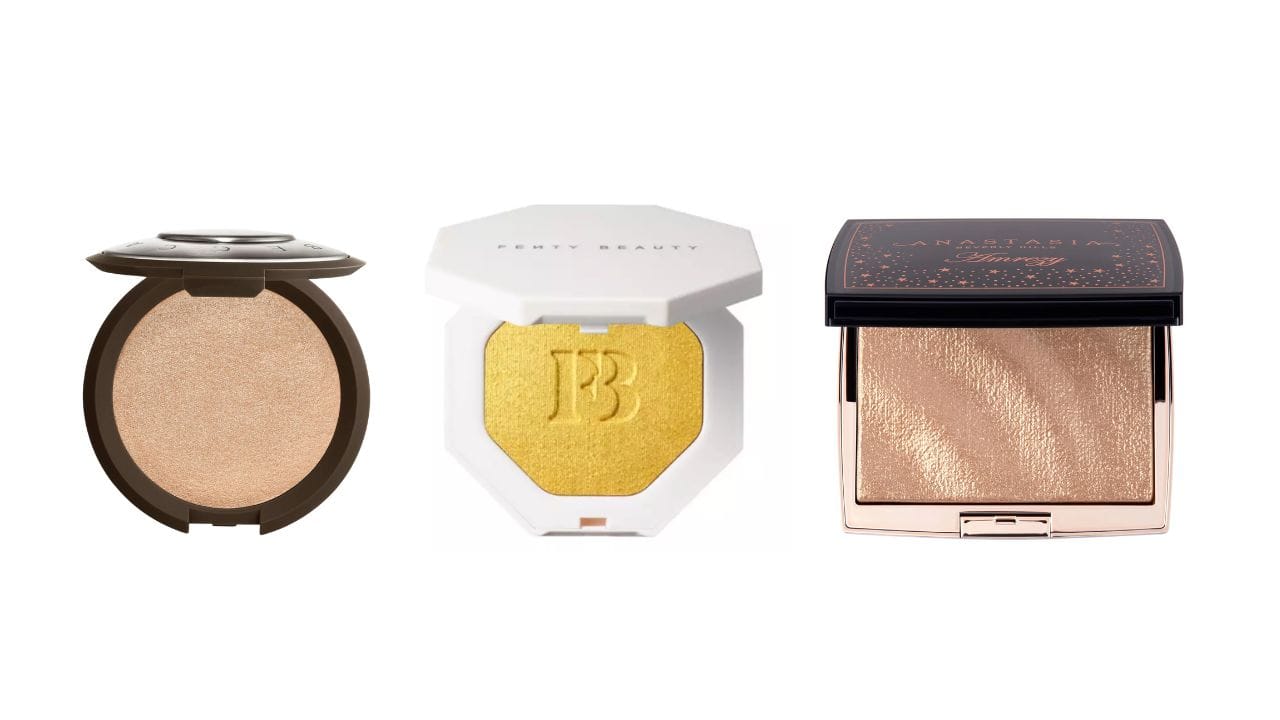
Best Products: Fenty Beauty Killawatt Freestyle Highlighter in Trophy Wife, Becca Shimmering Skin Perfector Pressed in Champagne Pop, Anastasia Beverly Hills Amrezy Highlighter, Laura Mercier Matte Radiance Baked Powder in Highlight 01, Milani Strobelight Instant Glow Powder in Afterglow
Liquid Highlighter
Ideal for dry or normal skin, liquid formulas provide a seamless, dewy finish that looks incredibly natural. They can be mixed with foundation for an all-over subtle radiance or applied strategically for targeted glow.
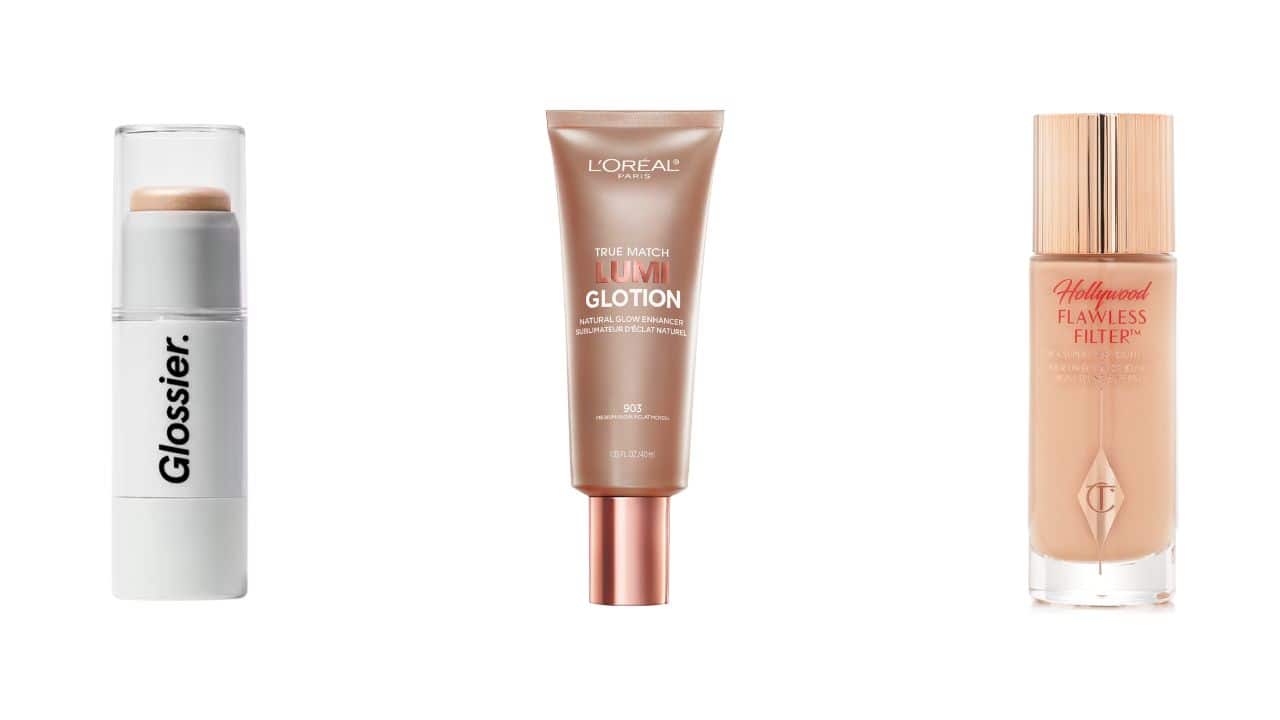
Best Products: Glossier Haloscope in Quartz, RMS Beauty Living Luminizer in Champagne Rosé, Charlotte Tilbury Hollywood Flawless Filter, Rare Beauty Positive Light Liquid Luminizer in Mesmerize, L’Oréal Paris True Match Lumi Glotion in Fair/Light Glow
Cream Highlighter
These formulas melt into the skin for the most natural, skin-like finish. They’re perfect for creating that “no-makeup makeup” glow and work best when applied with clean fingers or a damp beauty sponge.
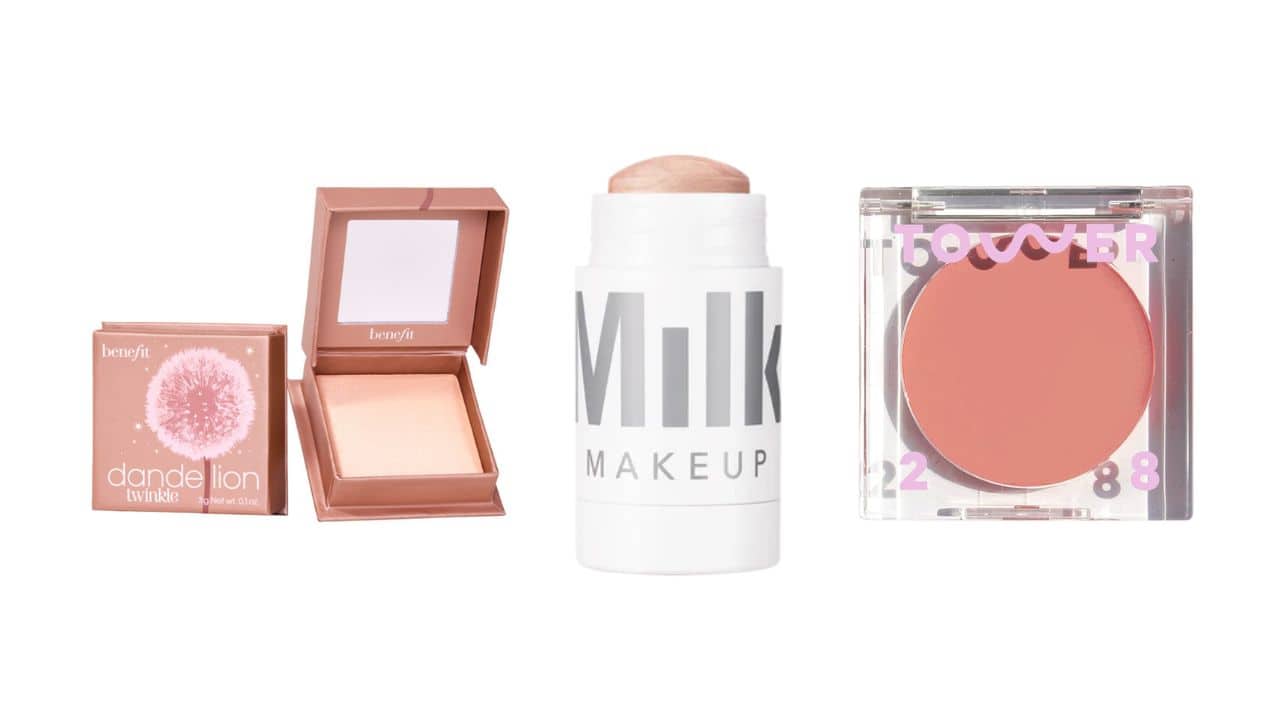
Best Products: Milk Makeup Highlighting Stick in Lit, Glossier Cloud Paint in Storm, Em Cosmetics Heaven’s Glow Cream Highlighter in Venetian Gold, Tower 28 BeachPlease Cream Blush in Golden Hour, Benefit Dandelion Twinkle Highlighting Powder
Stick Highlighter
Convenient and portable, stick formulas offer precise application and are perfect for touch-ups throughout the day. They combine the blendability of cream with the convenience of powder.
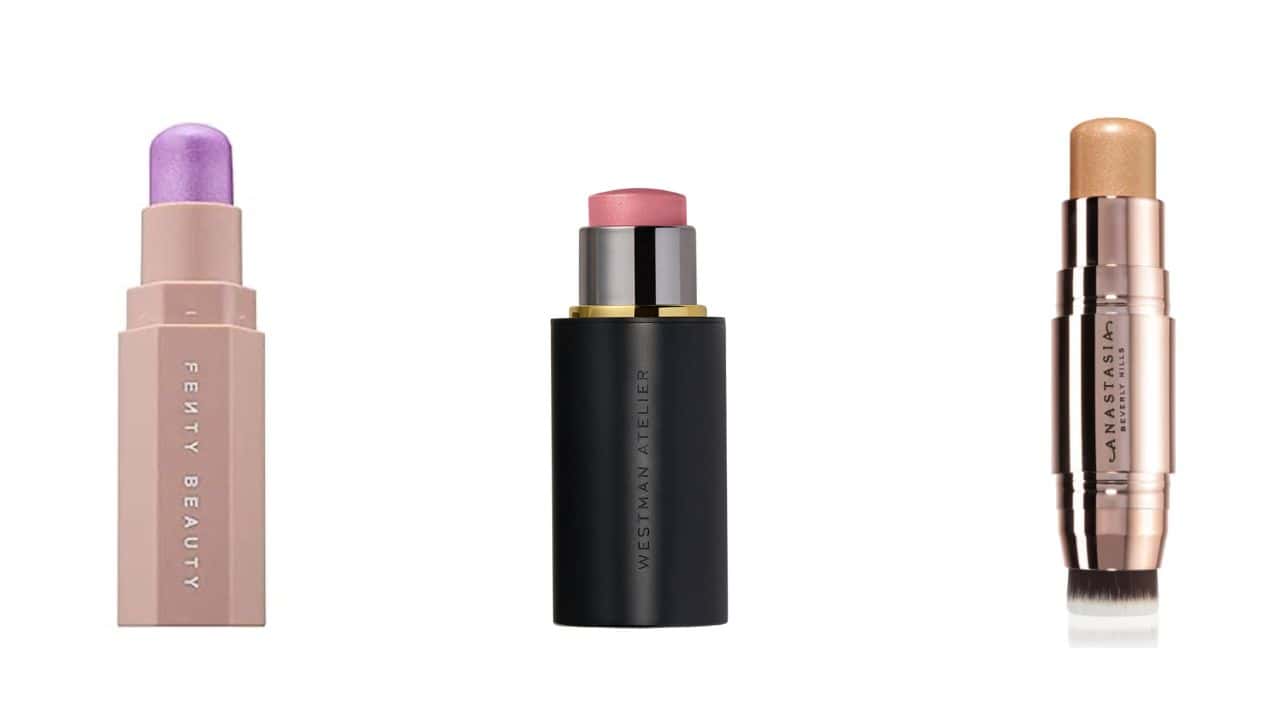
Best Products: Fenty Beauty Match Stix Shimmer Skinstick in Unicorn, Nudestix Nudies Matte Blush & Bronze in Hey Honey, Marc Jacobs Beauty Cover(t) Stick in Coconut Fantasy, Westman Atelier Lit Up Highlight Stick in Peau de Pêche, Maybelline Master Strobing Stick in Light/Iridescent
Step-by-Step Application Guide: Master the Technique
Follow these professional steps for flawless highlighter application every time:
Step 1: Create the Perfect Canvas
Start with well-moisturized, smooth skin. If you want extra luminosity, apply a hydrating, dewy primer before your foundation. Remember, highlighter always looks best on properly prepped, hydrated skin.
Step 2: Perfect Your Base
Apply your foundation and concealer first to create an even skin tone. Highlighter works most effectively on a smooth, well-blended base, so take time to perfect your foundation application.
Step 3: Select Your Application Tool
Your tool choice significantly impacts the final result:
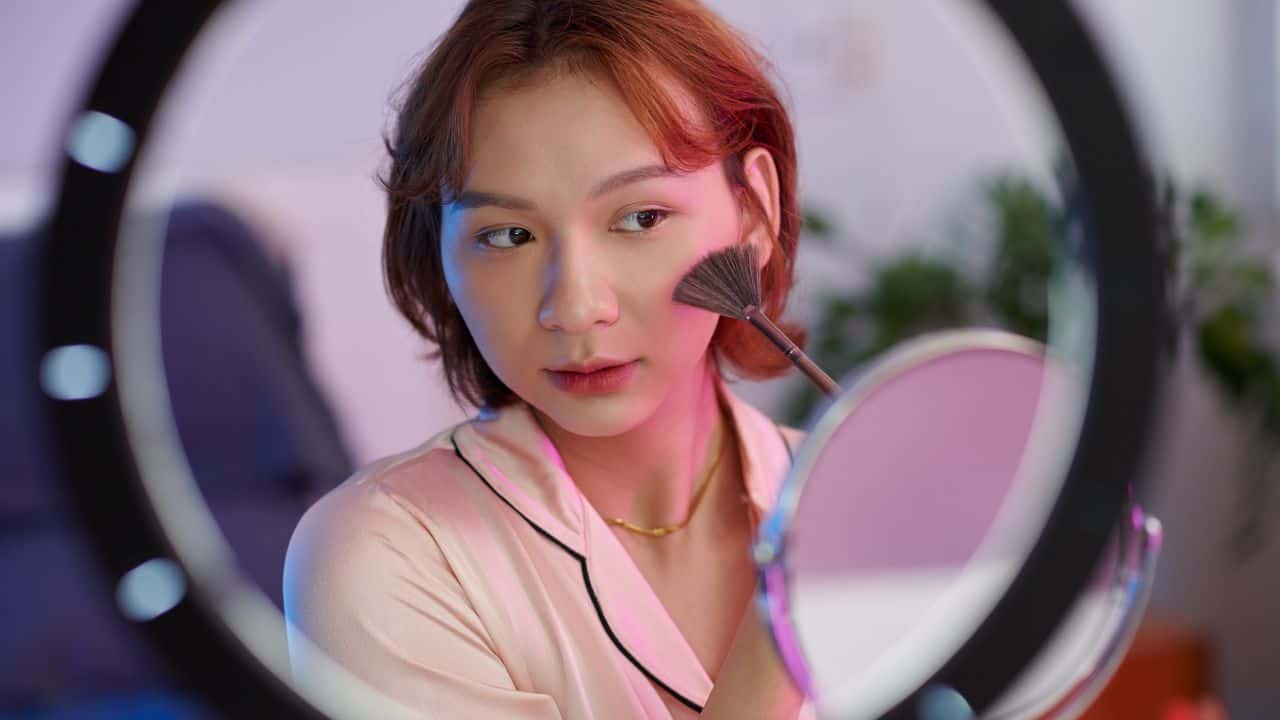
- Fan brush or fluffy tapered brush: Perfect for powder highlighters, offering diffused, natural-looking application
- Damp beauty sponge: Ideal for liquid and cream formulas, providing seamless blending
- Clean fingers: The warmth helps melt cream or liquid highlighter into skin for the most natural effect
- Small, dense brush: For precise application in smaller areas like inner eye corners
Step 4: Build Gradually with Light Layers
Always start with less product than you think you need. Apply in thin, buildable layers rather than trying to achieve your desired intensity in one application. This technique prevents the dreaded “overdone” or greasy appearance.
Step 5: Blend for Natural Results
Harsh lines are the enemy of beautiful highlighter application. Use a clean, fluffy brush or damp sponge to gently diffuse any hard edges, ensuring your glow looks naturally radiant rather than painted on.
Step 6: Set Strategically (When Necessary)
For oily skin types, lightly dust translucent setting powder around (not directly over) highlighted areas to prevent excess shine while maintaining your glow. Be careful not to apply powder directly on the highlighter, as this can dull the luminous effect.
Professional Tips for Next-Level Radiance
Elevate your highlighter game with these expert techniques:
- Layer Different Formulas: Apply a cream or liquid highlighter as your base, then set and intensify with a coordinating powder highlighter for long-lasting, multidimensional radiance.
- Use Setting Spray Strategically: Spritz setting spray on your brush before applying powder highlighter, or mist over your finished look to lock in the glow for all-day wear.
- Create Subtle Eye Shimmer: Dab a small amount of highlighter on your eyelids for an effortless, fresh shimmer that’s perfect for daytime looks.
- Mix with Skincare: Blend liquid highlighter with your moisturizer or primer for an all-over subtle glow that looks like natural radiance.
- Temperature Matters: Warm cream highlighters between your fingers before application for smoother blending and more natural-looking results.
- Choose Quality Over Quantity: Invest in finely-milled, high-quality highlighters rather than chunky, glittery formulas for a more sophisticated, polished appearance.
- Adjust for Different Lighting: What looks perfect in natural light might appear too intense under harsh fluorescents. Always check your highlighter application in multiple lighting conditions.
- Consider Your Overall Look: Coordinate your highlighter intensity with the rest of your makeup. Bold eye looks pair well with subtle highlighting, while natural makeup can handle more dramatic glow.
Advanced Techniques: Highlighting for Different Face Shapes
Customizing your highlighter placement based on your face shape can enhance your natural beauty and create more balanced, sculpted features. Understanding your face shape is key to strategic highlighting that works with your natural bone structure.
Round Face Shape
If you have a round face, your goal is to create the illusion of length and definition. Focus highlighter on the center of your forehead in a vertical line, running it down the bridge of your nose, and finishing with a small amount on the center of your chin. This vertical highlighting technique draws the eye up and down, creating the appearance of a longer, more oval-shaped face.
Avoid highlighting the fullest part of your cheeks (the apples), as this can emphasize the roundness you’re trying to minimize. Instead, if you want to highlight your cheekbones, apply the product higher up on the cheekbone, closer to your temples, and blend upward toward your hairline.
Oval Face Shape
Lucky you! Oval faces are considered the most balanced face shape, which means you can follow standard highlighting placement rules without much modification. Your natural proportions are already harmonious, so traditional highlighting techniques will enhance your features beautifully.
Focus on the high points of your cheekbones, just beneath your brow bones, and down the bridge of your nose. You can also add a touch to your chin and inner eye corners. Since oval faces are naturally well-proportioned, you have the flexibility to experiment with different highlighting intensities and placements based on your personal style preferences.
Square Face Shape
Square faces are characterized by strong, angular jawlines and foreheads of similar width. Your highlighting strategy should focus on softening these angular features while creating more curved, rounded lines. Apply highlighter to your temples, the center of your forehead, and the tip of your chin.
When blending, use circular motions rather than harsh, linear strokes to create softer transitions. You can also highlight the very tops of your cheekbones, but avoid the jawline area entirely, as this can emphasize the squareness. The goal is to create the illusion of more rounded, softer features that balance your naturally strong bone structure.
Heart-Shaped Face
Heart-shaped faces typically feature a wider forehead and narrower chin, creating an inverted triangle silhouette. Your highlighting strategy should focus on balancing these proportions by drawing attention downward and adding width to the lower portion of your face.
Highlight your chin and jawline more prominently to create the illusion of width in the lower face. Keep forehead highlighting minimal – just a light touch in the center if desired. You can also highlight your cheekbones normally, but focus more attention on the lower cheek area. This technique helps create visual balance between your wider forehead and narrower chin.
Long Face Shape
Long faces benefit from highlighting techniques that create the illusion of width rather than length. Focus on adding highlighter to the sides of your forehead (temples area) and the fullest part of your cheeks, which helps create horizontal emphasis and visual width.
Avoid highlighting down the center of your face vertically, as this can make your face appear even longer. Skip the bridge of the nose highlighting, or keep it very minimal. Instead, concentrate on creating width with strategic placement on the outer areas of your face. You can also highlight across your chin horizontally rather than just in the center point.
Seasonal Highlighting: Adapting Your Glow Year-Round
Your highlighting routine should evolve with the seasons and occasions to complement different lighting conditions, weather patterns, and style preferences. Understanding how to adjust your glow throughout the year ensures your highlighting always looks fresh and appropriate.
Summer Glow
Summer calls for warm, radiant highlighting that mimics the natural glow of sun-kissed skin. Opt for golden, bronze-toned, and honey-colored highlighters that complement your summer tan and the bright, warm lighting conditions. These shades work harmoniously with the increased melanin production and natural warmth that comes with summer sun exposure.
Liquid formulas are your best friend during humid summer months, as they provide that coveted dewy, fresh-from-the-beach look that appears natural and effortless. The lightweight, blendable texture of liquid highlighters also works better in heat and humidity, staying put without looking heavy or cakey. Focus on areas that would naturally catch the sun – the high points of your cheekbones, bridge of your nose, and collarbones for that authentic summer radiance.
Winter Radiance
Winter highlighting requires a shift to cooler, more sophisticated tones that complement the season’s crisp, clear lighting and your skin’s natural winter undertones. Choose cooler-toned highlighters in champagne, pearl, icy silver, or soft pink shades that reflect the season’s ethereal, frosty beauty.
Powder formulas become essential during winter months as they help combat the drying effects of indoor heating and harsh winter winds. These formulas also provide better staying power in dry conditions and won’t slip or fade as easily as liquid formulas might in the artificial heat of indoor environments. The key is achieving a luminous, healthy glow that counteracts winter’s tendency to make skin appear dull or washed out.
Special Occasions
When you need your highlighting to photograph beautifully and last through long events, layering different formulas creates maximum impact and longevity. Start with a cream or liquid highlighter as your base to create that lit-from-within foundation, then set and intensify with a coordinating powder highlighter for dimension and staying power.
For formal events, don’t forget to extend your highlighting beyond your face. Consider adding highlighter to your décolletage, shoulders, and even your collarbones for a cohesive, sophisticated glow that looks stunning in photographs and under various lighting conditions. This technique is especially effective for evening events, weddings, or any occasion where you’ll be photographed extensively.
Everyday Wear
Your daily highlighting routine should be subtle, professional, and easy to maintain throughout your busy day. Stick to one strategic placement area – typically the high points of your cheekbones – with a natural-finish formula that provides gentle radiance without being distracting or overwhelming in office lighting.
Choose buildable formulas that allow you to start subtle in the morning and add intensity if you have evening plans. Neutral shades in champagne or soft gold work well for most professional environments, providing a healthy, well-rested appearance that enhances your natural features without drawing unwanted attention. The goal is to look naturally radiant and polished, not obviously highlighted.
Troubleshooting Common Highlighter Problems
Even with the best techniques and products, highlighter application can sometimes go wrong, leaving you frustrated with lackluster or unflattering results. Here are the most common highlighter issues and their proven solutions to help you achieve that perfect glow every time.
Problem: Highlighter looks chalky or sits on top of skin
Solution: Ensure your base is properly moisturized and use a damp sponge to press powder highlighter into the skin rather than sweeping it on.
Problem: Glow disappears throughout the day
Solution: Use a setting spray before and after application, or try layering a cream highlighter under powder for better longevity.
Problem: Highlighter emphasizes skin texture
Solution: Use a primer specifically designed for pores, apply highlighter with a damp sponge, and choose finely-milled formulas over chunky glitters.
Problem: Color looks wrong on your skin
Solution: Test highlighters in natural lighting and consider your undertones—cool undertones suit pearl and silver, while warm undertones prefer gold and champagne shades.
Achieve Your Ultimate Glow: From Basic to Brilliant
Mastering how to apply and how to wear highlighter isn’t just about adding radiance—it’s transformative when you understand the science behind strategic light placement and discover the techniques that work harmoniously with your unique facial structure and skin type. The days of choosing between natural luminosity and show-stopping glow are over, thanks to advanced application methods that deliver both sophisticated radiance and impressive staying power.
Remember that finding your perfect highlighting technique is a journey of experimentation and refinement. What creates stunning results for one person’s bone structure may need modification for another’s unique face shape, skin texture, and lifestyle demands. Start with basic cheekbone placement, gradually introduce advanced contouring techniques, and don’t hesitate to adjust your approach based on how different formulas interact with your skin throughout various seasons and occasions.
While understanding the fundamentals of highlighter application is crucial, having access to authentic, high-performance makeup products ensures you can achieve the professional-quality, long-lasting results that make proper highlighting technique truly transformative. With countless beauty brands and application methods available, finding trusted, effective products that deliver both sophistication and durability can feel overwhelming.
Discover your perfect makeup collection at Beautinow – your trusted destination for authentic, premium cosmetics that deliver salon-quality results and help you master the art of sophisticated highlighting application that works beautifully with your unique features and skin goals.
Why choose Beautinow for your makeup needs:
- Curated selection of authentic designer and professional makeup from trusted brands known for exceptional quality and innovative formulas
- High-performance highlighters with finely-milled pigments and proven luminosity that photograph beautifully
- Specialized makeup tools and accessories for optimal application, from precision brushes to professional beauty sponges
- Detailed shade matching guides and step-by-step tutorials for mastering advanced glow techniques
- Expert beauty advice and personalized product recommendations based on your skin tone, type, and coverage preferences
Your beauty routine deserves the superior quality and sophisticated radiance that only come from professionally crafted, authentic cosmetics designed to enhance your natural features and last throughout your busiest days. Experience the difference that genuine, high-quality highlighters can make with Beautinow’s expertly curated collection of luminous products.
Frequently Asked Questions
Q: Can I wear highlighter without foundation?
A: Absolutely! Highlighter works beautifully on bare skin, especially liquid and cream formulas that blend seamlessly with your natural skin texture. In fact, wearing highlighter on clean, moisturized skin can create a more natural, effortless glow. Just ensure your skin is well-prepped with a good moisturizer, and start with a light hand to build up the intensity gradually. This technique is perfect for no-makeup makeup days when you want to look naturally radiant.
Q: How do I know if I’m applying too much highlighter?
A: If your highlighter is visible from more than arm’s length away, you’ve likely applied too much. The goal is a subtle luminosity that catches light naturally, not a metallic or glittery appearance. Other signs of over-application include harsh lines, a powdery or cakey texture, or if the highlighter looks like it’s sitting on top of your skin rather than blending seamlessly. Remember, you can always build up intensity, but it’s much harder to tone down an overly dramatic highlight.
Q: Should highlighter be applied before or after setting powder?
A: For powder highlighter, apply it after setting powder to prevent dulling the luminous effect. However, if you’re using liquid or cream highlighter, apply it before setting powder, then lightly dust translucent powder around (not over) the highlighted areas to set the rest of your makeup while preserving the glow. If you want extra intensity, you can layer a powder highlighter on top of set cream or liquid highlighter for a multidimensional, long-lasting radiance.