
Related posts

Top 10 Black Friday Skincare Essentials Worth Buying This Year
Black Friday has evolved from a single-day shopping frenzy into the ultimate opportunity to stock up on premium skincare without breaki...

How to Choose the Perfect Perfume This Black Friday Season: Your Ultimate Guide
Black Friday represents the golden opportunity to invest in luxury fragrances at unprecedented prices. But with thousands of perfumes a...
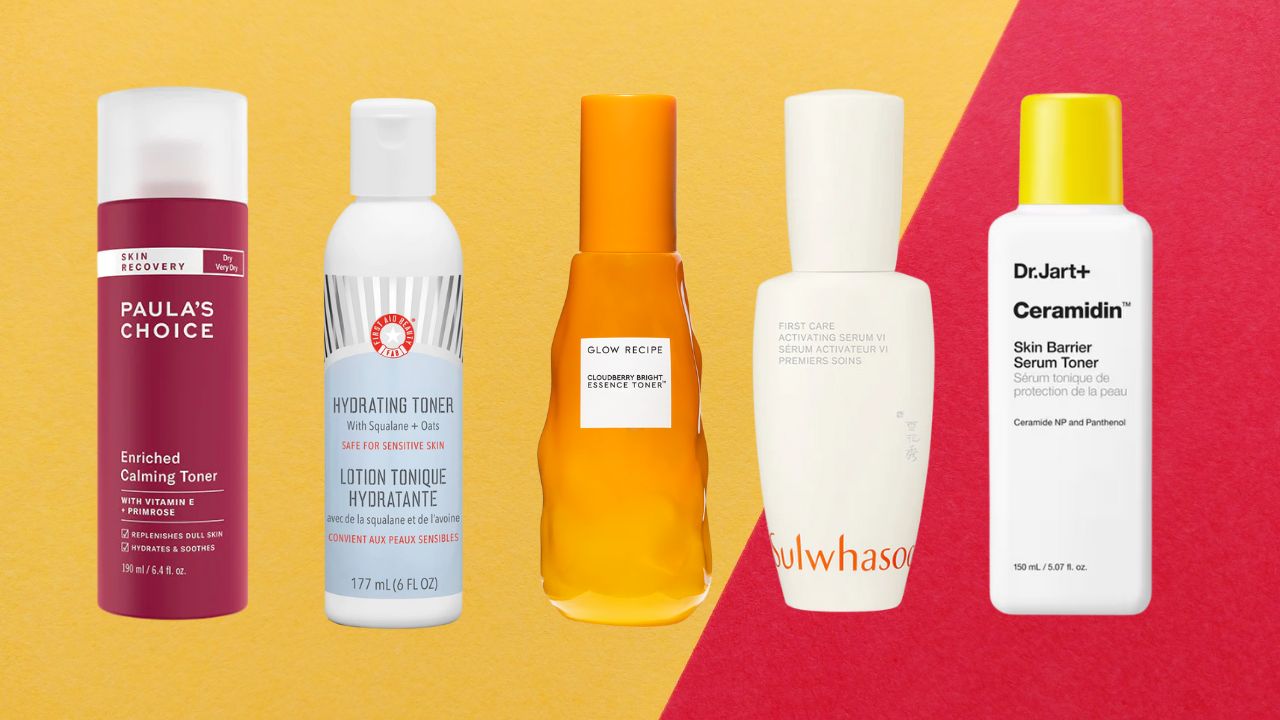
10 Best Toners for Dry Skin in 2025: Expert Reviews & Hydration Guide
Dry skin can feel like a constant battle—that uncomfortable tightness after cleansing, the flaky patches that ruin your makeup, and that perpetual thirsty feeling no matter how much moisturizer you slather on. This comprehensive guide features the 10 best face toners for dry skin that dermatologists recommend and real users love, plus expert advice on how to choose a toner for dry skin that transforms your routine from frustrating to effective.
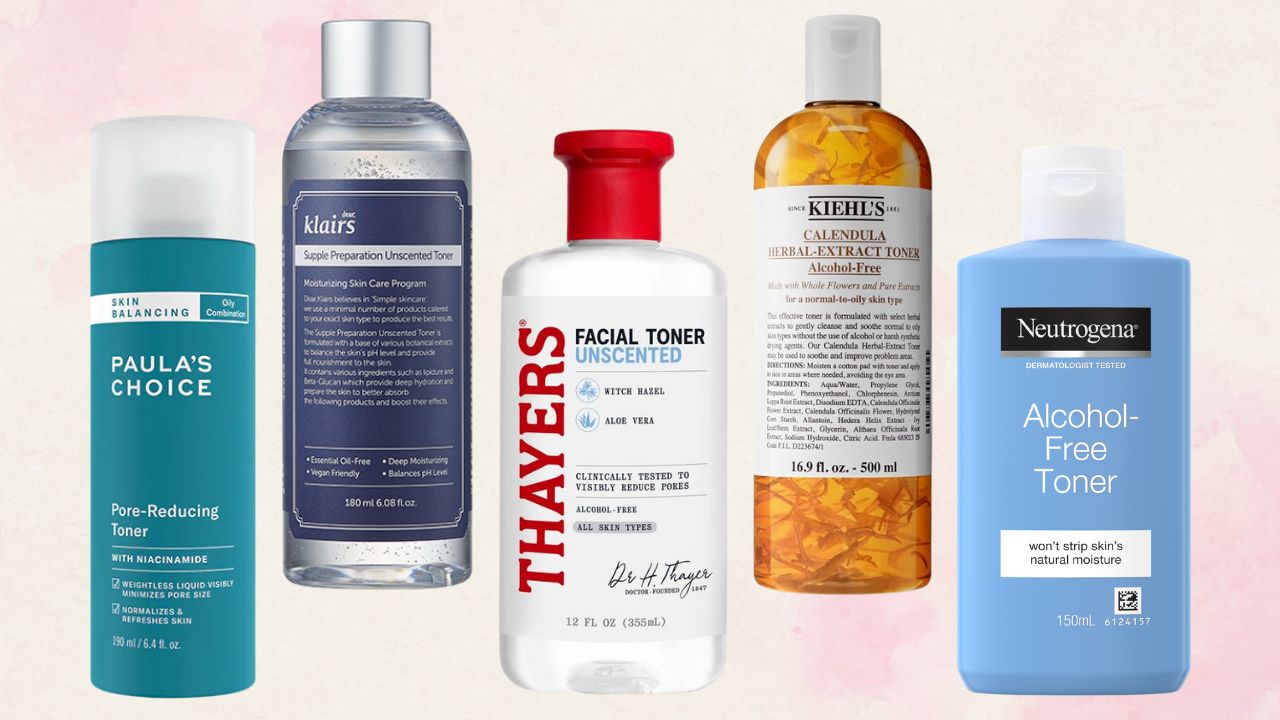
Top 10 Best Toners for Combination Skin in 2025: Tested and Reviewed
A good toner for combination skin does more than just refresh—it regulates oil production in greasy areas while delivering hydration to dry patches, minimizes the appearance of pores without over-drying, balances your skin's pH after cleansing, and prepares your complexion to absorb serums and moisturizers more effectively. The right combination skin toner acts as a sophisticated problem-solver that addresses multiple concerns simultaneously without compromising either zone.

Does Sunscreen Expire? Here’s What You Need to Know for Optimal Protection!
You’re getting ready for a fun beach day, digging through last summer’s bag, and there it is—a half-used bottle of familiar sunscreen. It looks okay. It smells fine. But then you wonder… does sunscreen actually go bad? The quick answer? Yes, it does. And using old sunscreen is like wearing sunglasses with a big crack—it…
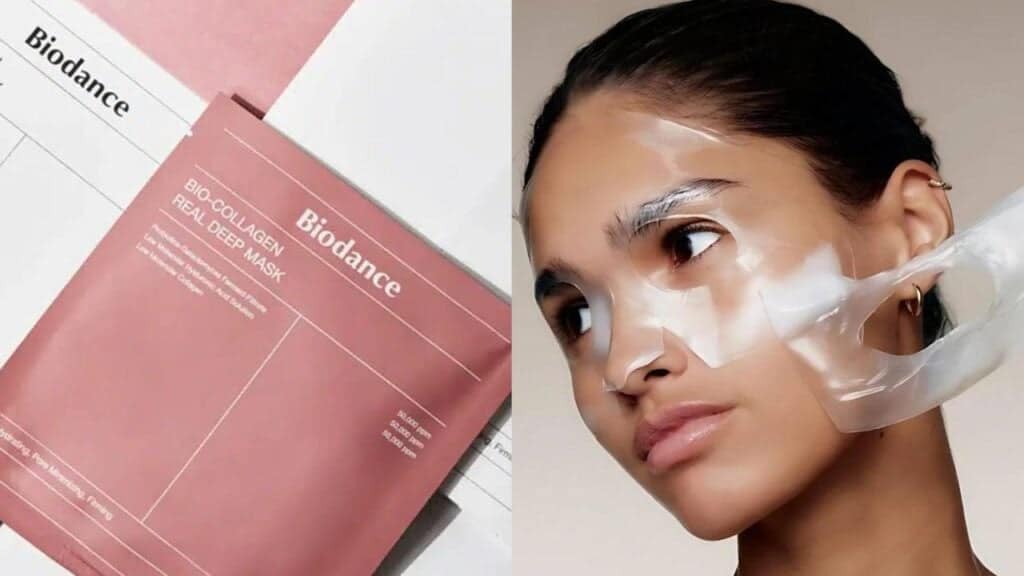
The K-Beauty Game Changer: Is the Viral Biodance Bio-Collagen Real Deep Mask Worth the Hype?
Okay, beauty lovers, let’s talk about something that’s taken the skincare internet by storm. You’ve seen the videos, you’ve scrolled past the jaw-dropping transformations: the Biodance Bio-Collagen Real Deep Mask. This isn’t just another sheet mask; it’s a Korean collagen mask that promises to melt into your skin, leaving it plump, dewy, and practically poreless….
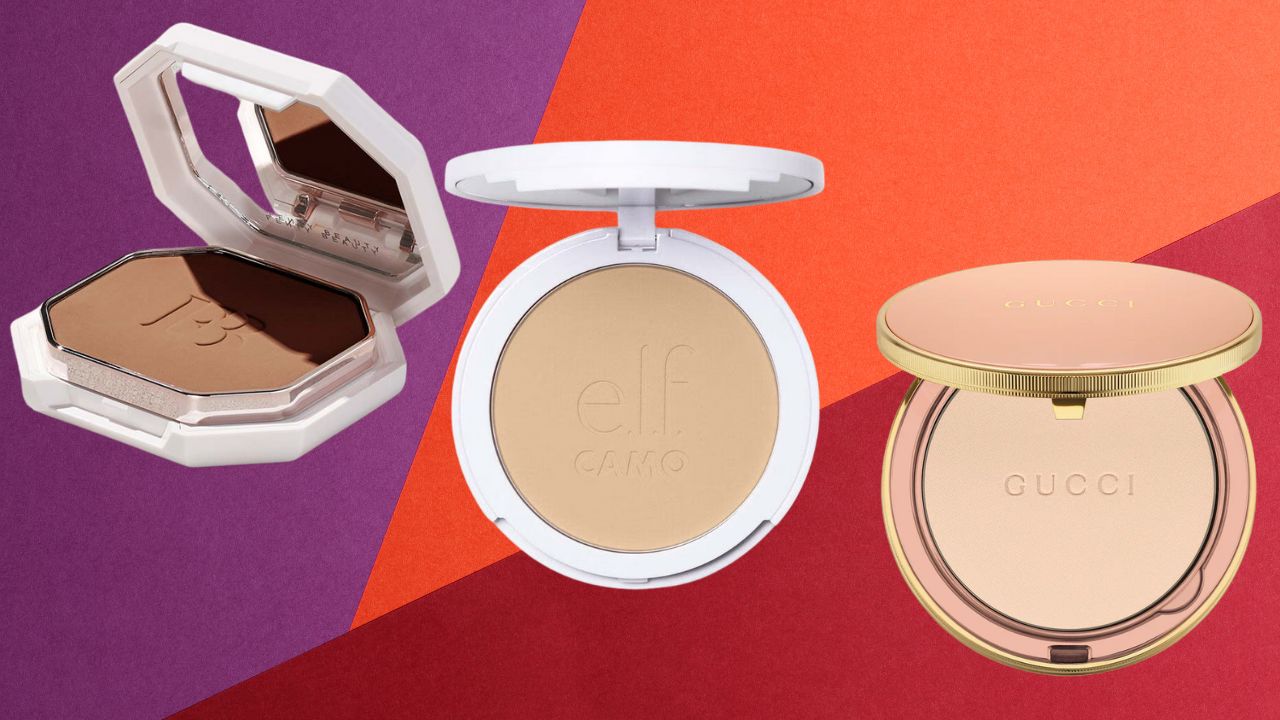
10 Best Powder Foundations for Oily Skin: Shine-Free, Smooth & Stunning Picks (2025)
If you've ever dealt with the struggle of makeup sliding off your face by lunchtime, looking greasy in photos, or requiring constant touch-ups throughout the day, it's time to make the switch. Powder foundations for oily skin are formulated specifically to combat shine, control oil production, and provide long-lasting coverage that stays put from morning meetings to evening events. Whether you want barely-there natural coverage or full glam that photographs beautifully, there's a mattifying powder foundation out there waiting to be your holy grail.

Should You Wear Sunscreen Every Day, Even in Winter or Indoors? Science Says YES!
Most people associate sunscreen with sweltering beach days, tropical vacations, and that one time they forgot to reapply and turned into a human lobster. But what if we told you that sunscreen isn’t just a summer essential? That’s right. Wearing SPF daily—even in winter or indoors—isn’t just a skincare trend; it’s a dermatologist-approved non-negotiable. If…
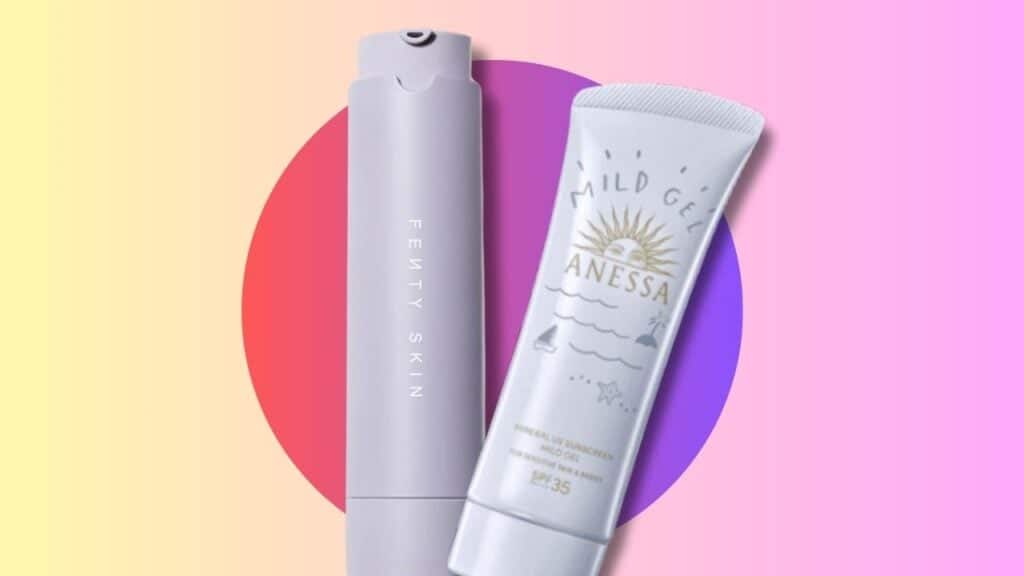
We’ve Tested Over 30 Mineral Sunscreens: These 2 Are the Best – Fenty Hydra Vizor & Shiseido Anessa
If you’ve ever tried mineral sunscreen, you know the struggle. Some feel like cement on your face, others leave you looking like a ghost auditioning for a horror movie, and a few even pill into tiny, annoying flakes the second you apply makeup. After months of slathering, blending, squinting at ingredient lists, and exposing ourselves…
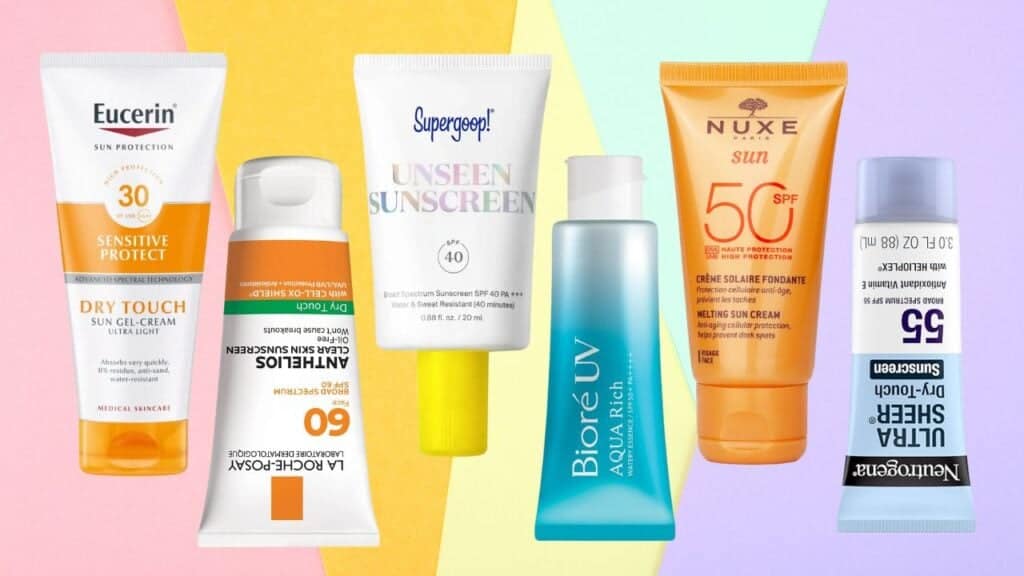
Top 10 Oil-Free, Non-Greasy Sunscreens for Your Face: Say Goodbye to Shine!
Sunscreen is the ultimate skincare non-negotiable—no matter your skin type. But if you have oily, combination, or acne-prone skin, you know the struggle of finding a formula that won’t leave you looking like a glazed donut by noon. Even dry and sensitive skin types often prefer lightweight, non-greasy, breathable formulas that won’t clog pores. So,…

Does Sunscreen Prevent Tanning? Understanding Its Role & How to Tan Safely
You’ve packed your beach bag, grabbed your favorite sunglasses, and slathered on that bottle of SPF everyone insists you need. But as you step into the glorious sun, a nagging question pops up: “If I’m wearing sunscreen, will I still tan? Or am I just wasting my time trying to get a golden glow?“ It’s…
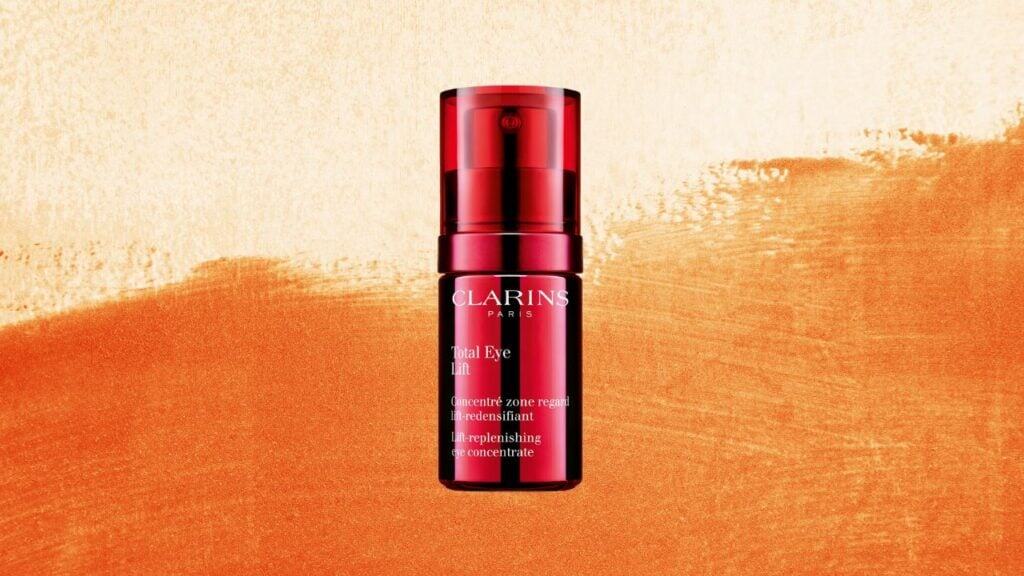
Clarins Total Eye Lift: How to Use It to Brighten & Firm Tired Eyes
Ever glance in the mirror at 7 a.m. and think, “Did I sleep at all?” We’ve all been there—those mornings where our eyes spill our secrets before we can reach for concealer. If your under-eye area looks more “red-eye flight” than “rested glow,” there’s hope. And not just any hope—Clarins Total Eye Lift is that…